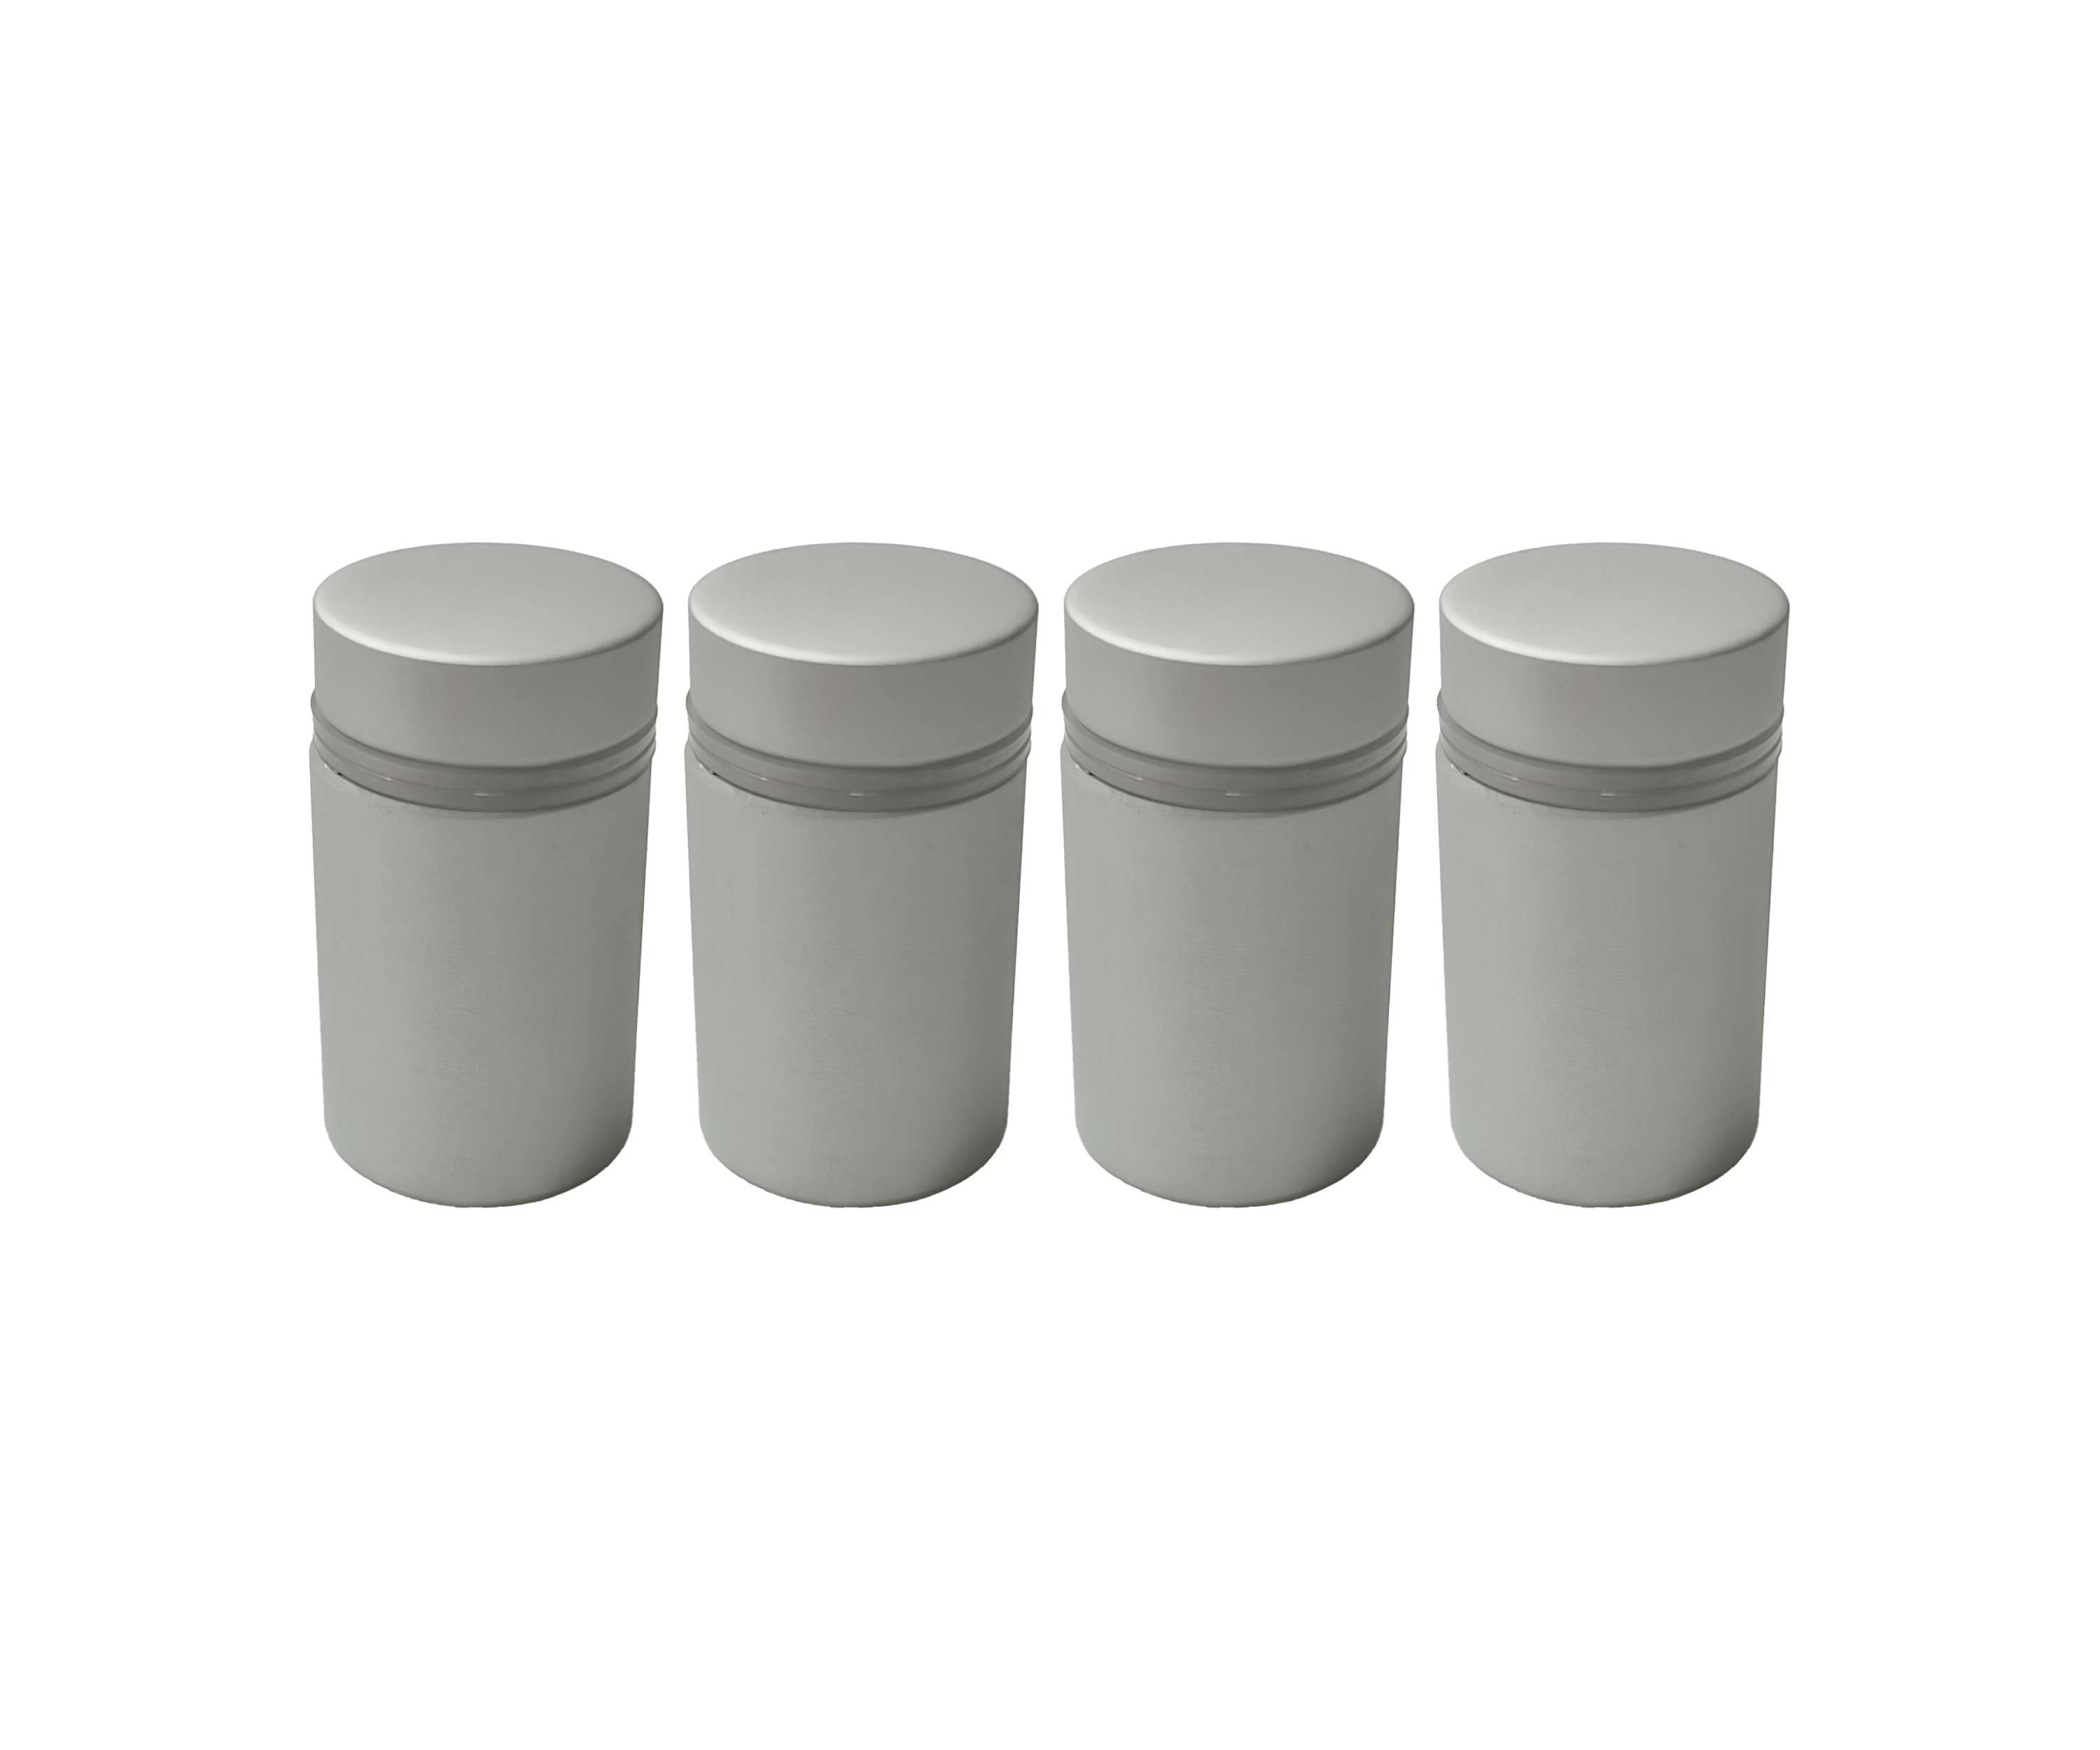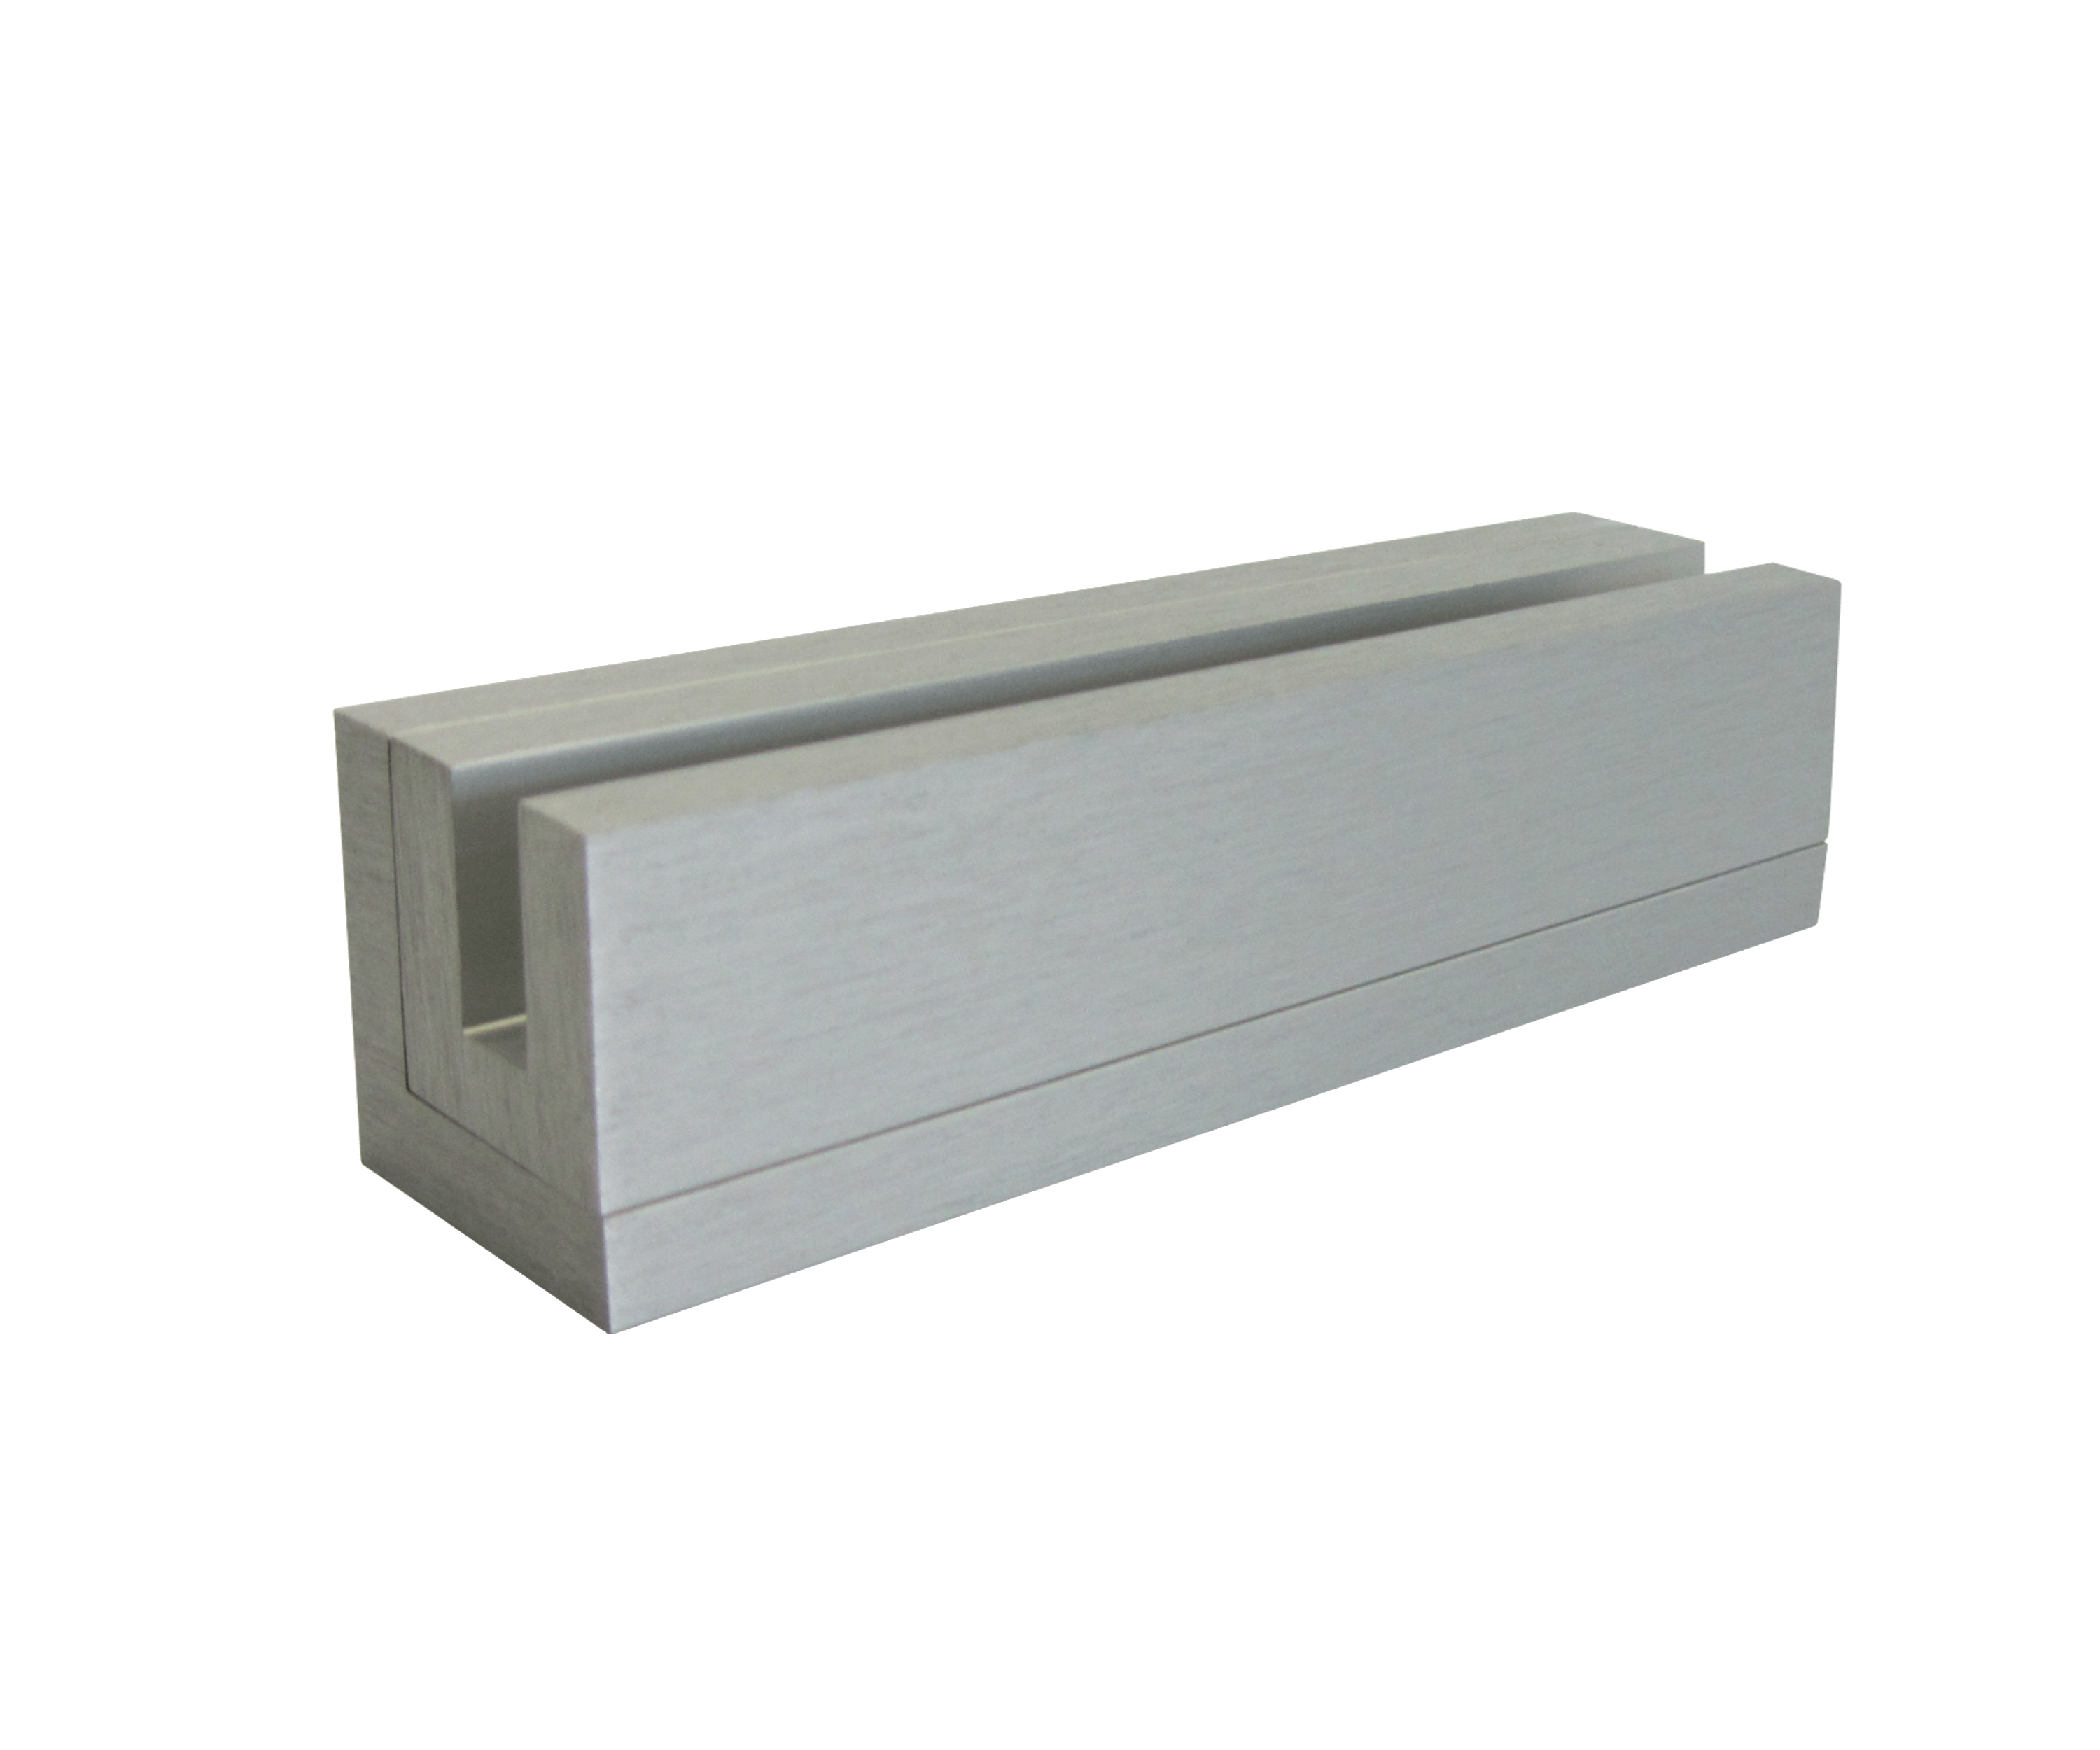

-210x140.jpg "A-Frames")

The Ultimate Guide to 3D Lettering: Installation, Materials & Pro Tips
SIGNAGE | RETAIL | DISPLAY
Whether you've been installing letters for twenty years or you're just getting into dimensional signage, there's always something worth revisiting. In this guide we cover some pro tips and tricks for installing 3D lettering.

Planning the Install
Good installs start with what you plan in advance!
Substrate assessment. What are you fixing into? Brick, render, ACM cladding, glass, timber – each has different load tolerances and fixing requirements. On hollow or composite substrates especially, you need to know what's behind the face before you commit to a fixing method.
Letter weight. Large solid letters can be surprisingly heavy. Calculate total weight before selecting your fixing system, and factor in wind loading if it's an exterior application at height.
Layout template. Always produce a paper or film template for letter positioning before drilling. Even experienced installers who could eyeball it choose not to – it's not worth the risk. Mark your centreline and work outward.

Fixing Methods
This is where installs succeed or fail, and it's worth understanding the main options available rather than defaulting to the same method every time.
Threaded studs are the traditional approach. Studs are bonded or tapped into the back of the letter, fed through pre-drilled holes in the wall, and secured with nuts from behind where accessible, or with adhesive packers where they're not. Reliable, but labour-intensive, and requires accurate drilling both in the letter and the substrate.
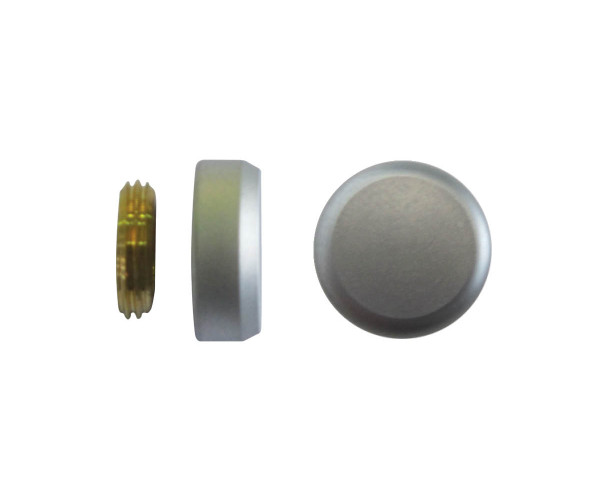
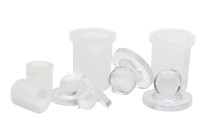
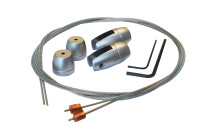
Snap-fix dome systems have changed the game for many installers, particularly for router-cut acrylic and similar letters. The principle is simple: a dome mounts to the back of the letter, and a corresponding cup fixes to the wall. The letter clips in firmly and sits at a consistent standoff — no guessing at depths, no threaded rod to cut and align.
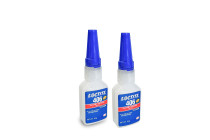
PROGRAFIK’s Lettermounts (available in Standard and Jumbo sizes) work exactly this way, giving you a choice of 15mm or 25mm standoff depending on the effect you're after. They're UV stabilised for exterior use, and because they're designed to be removable and reusable, they're particularly useful for clients who might want to refresh their signage down the line. For acrylic letters, Loctite 406 is the adhesive of choice for bonding the dome to the letter back.
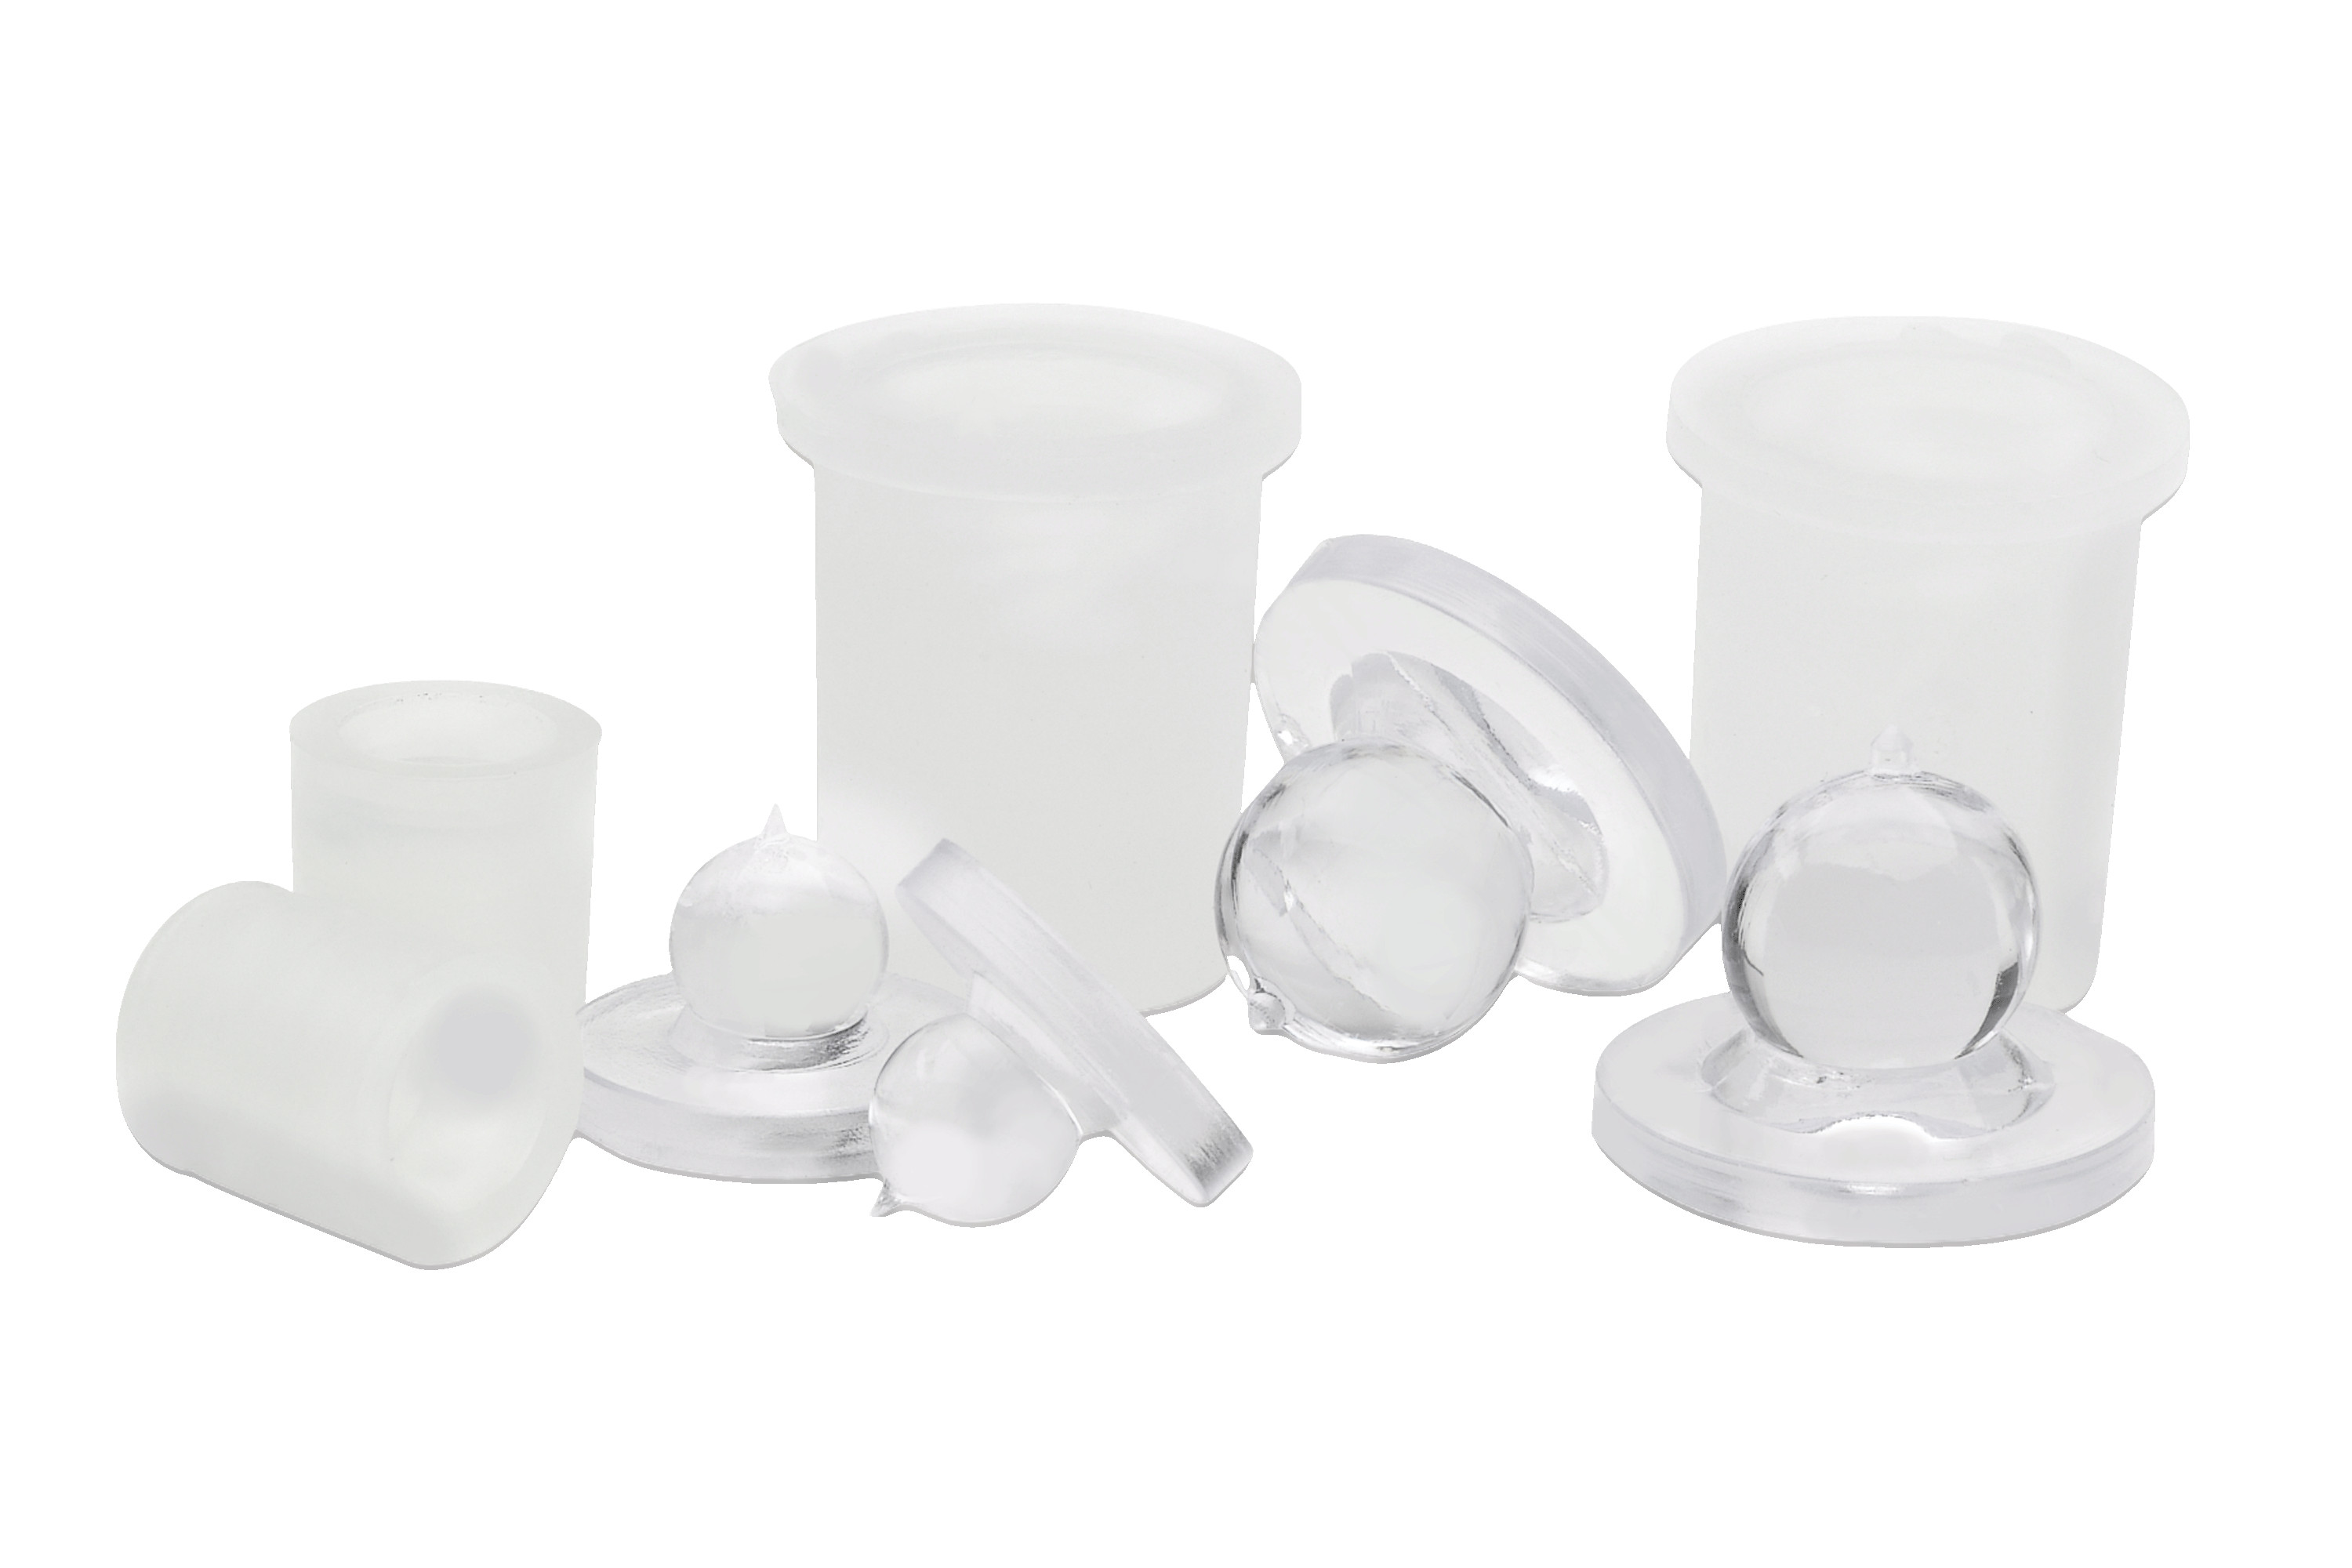
Lettermounts - Standard and Jumbo
From $49.00 per pack
SHOP LETTERMOUNTS
Getting the Standoff Right
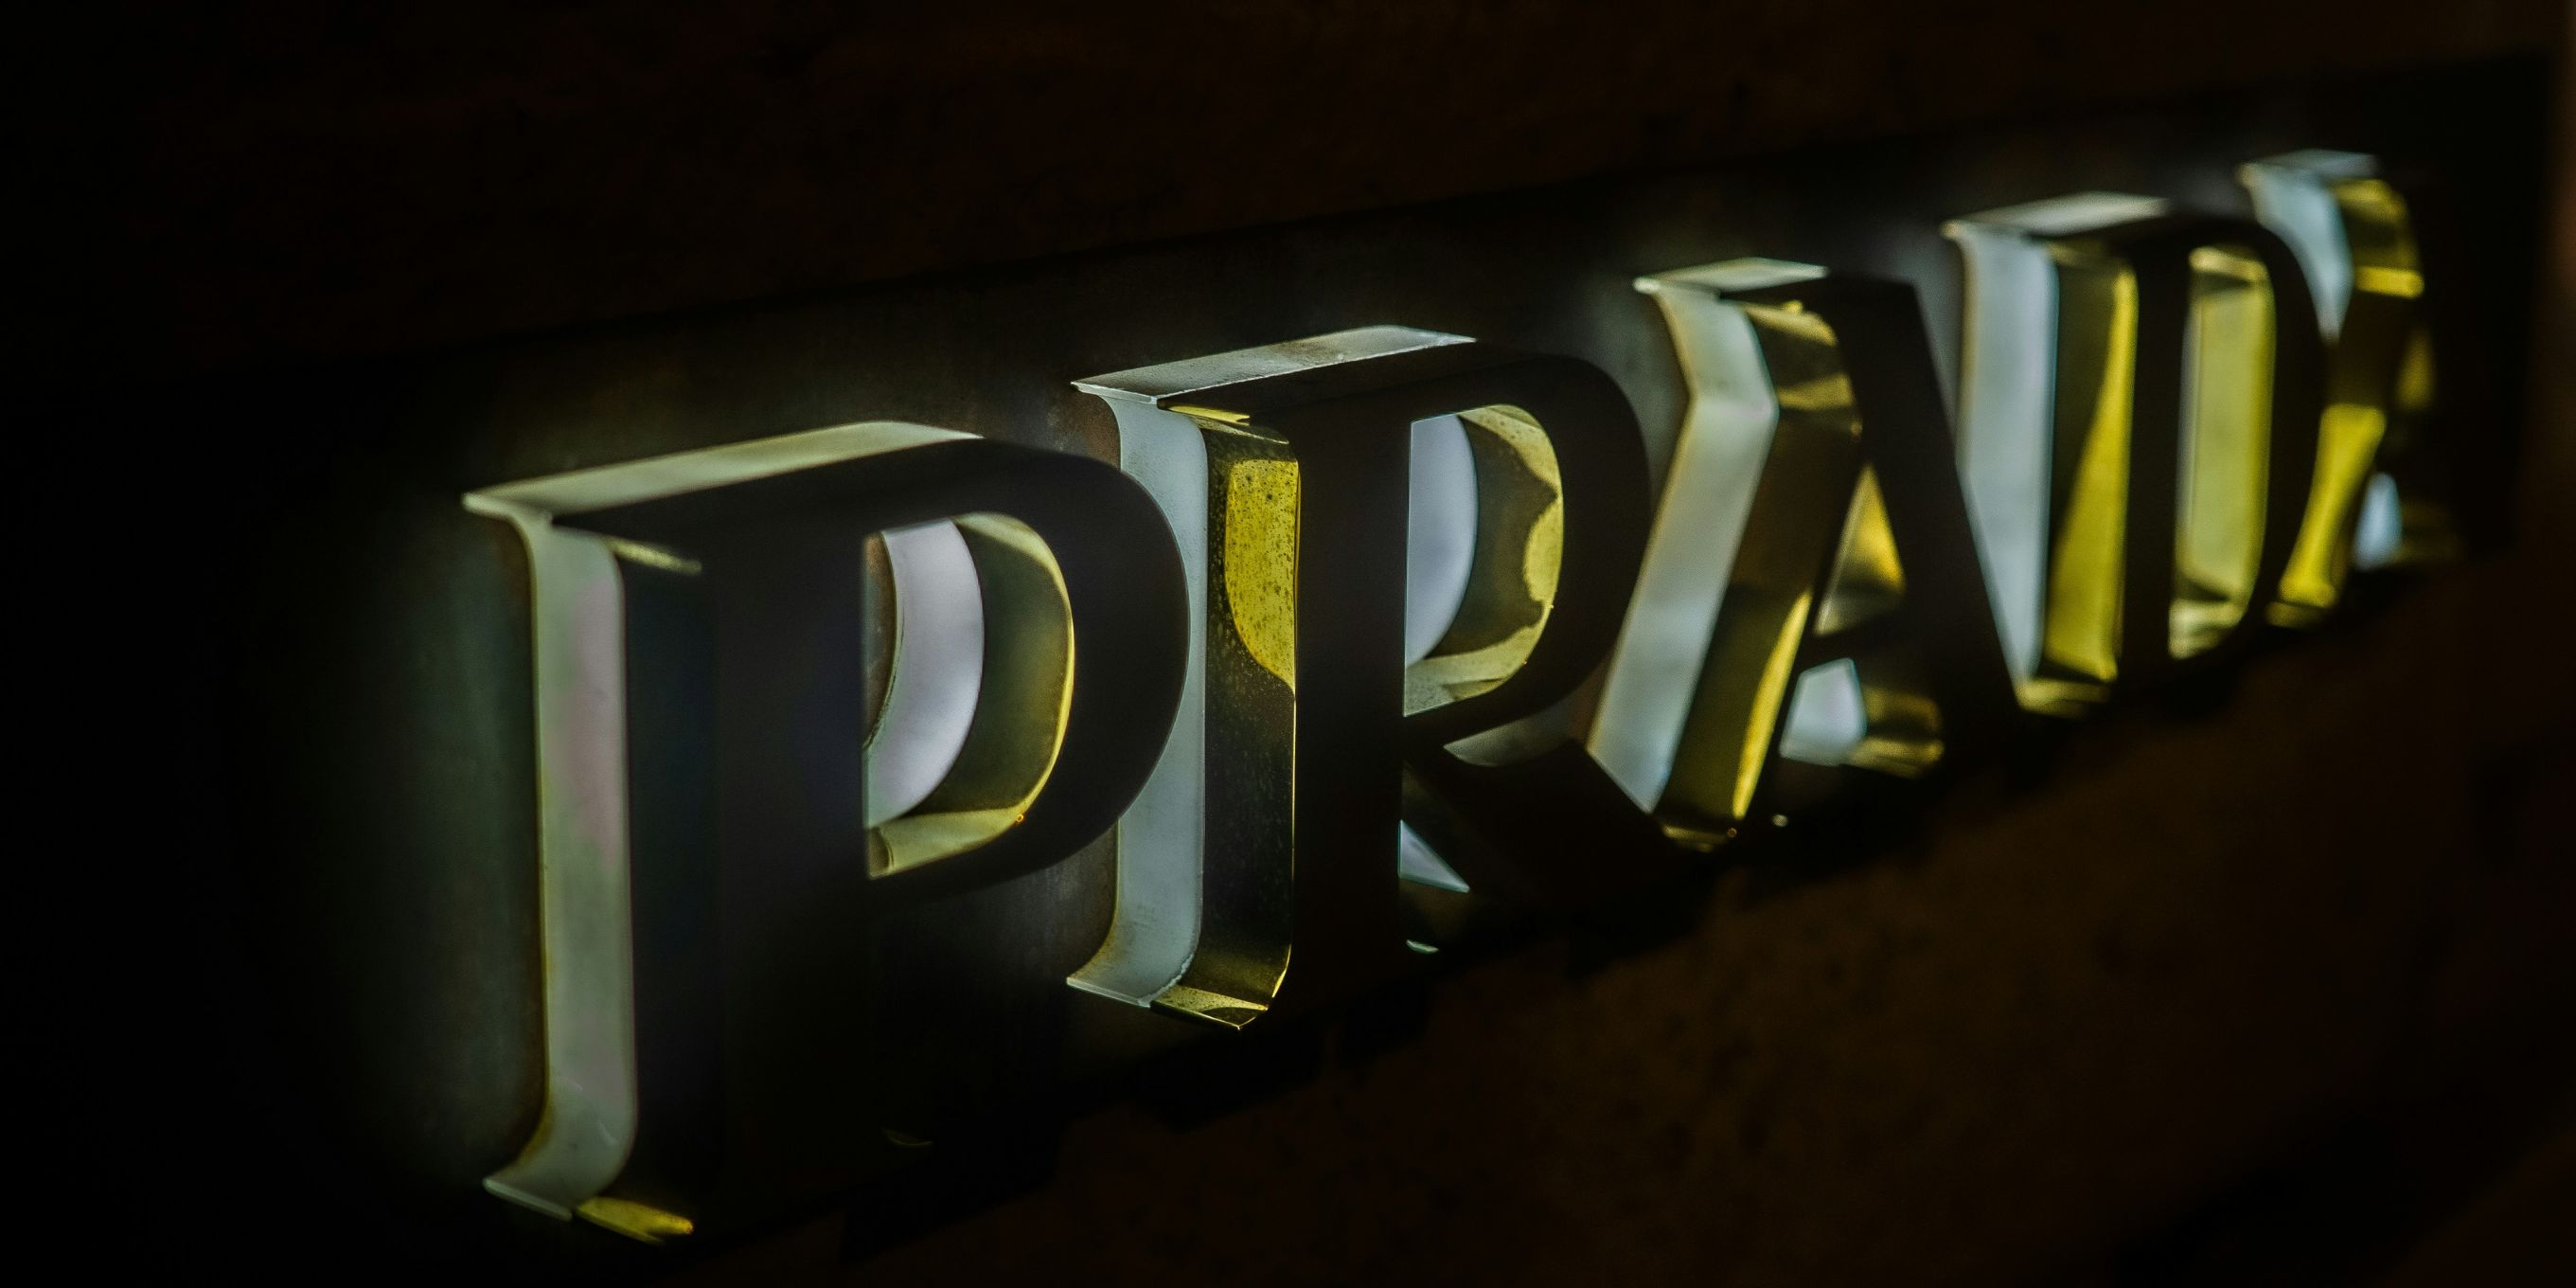
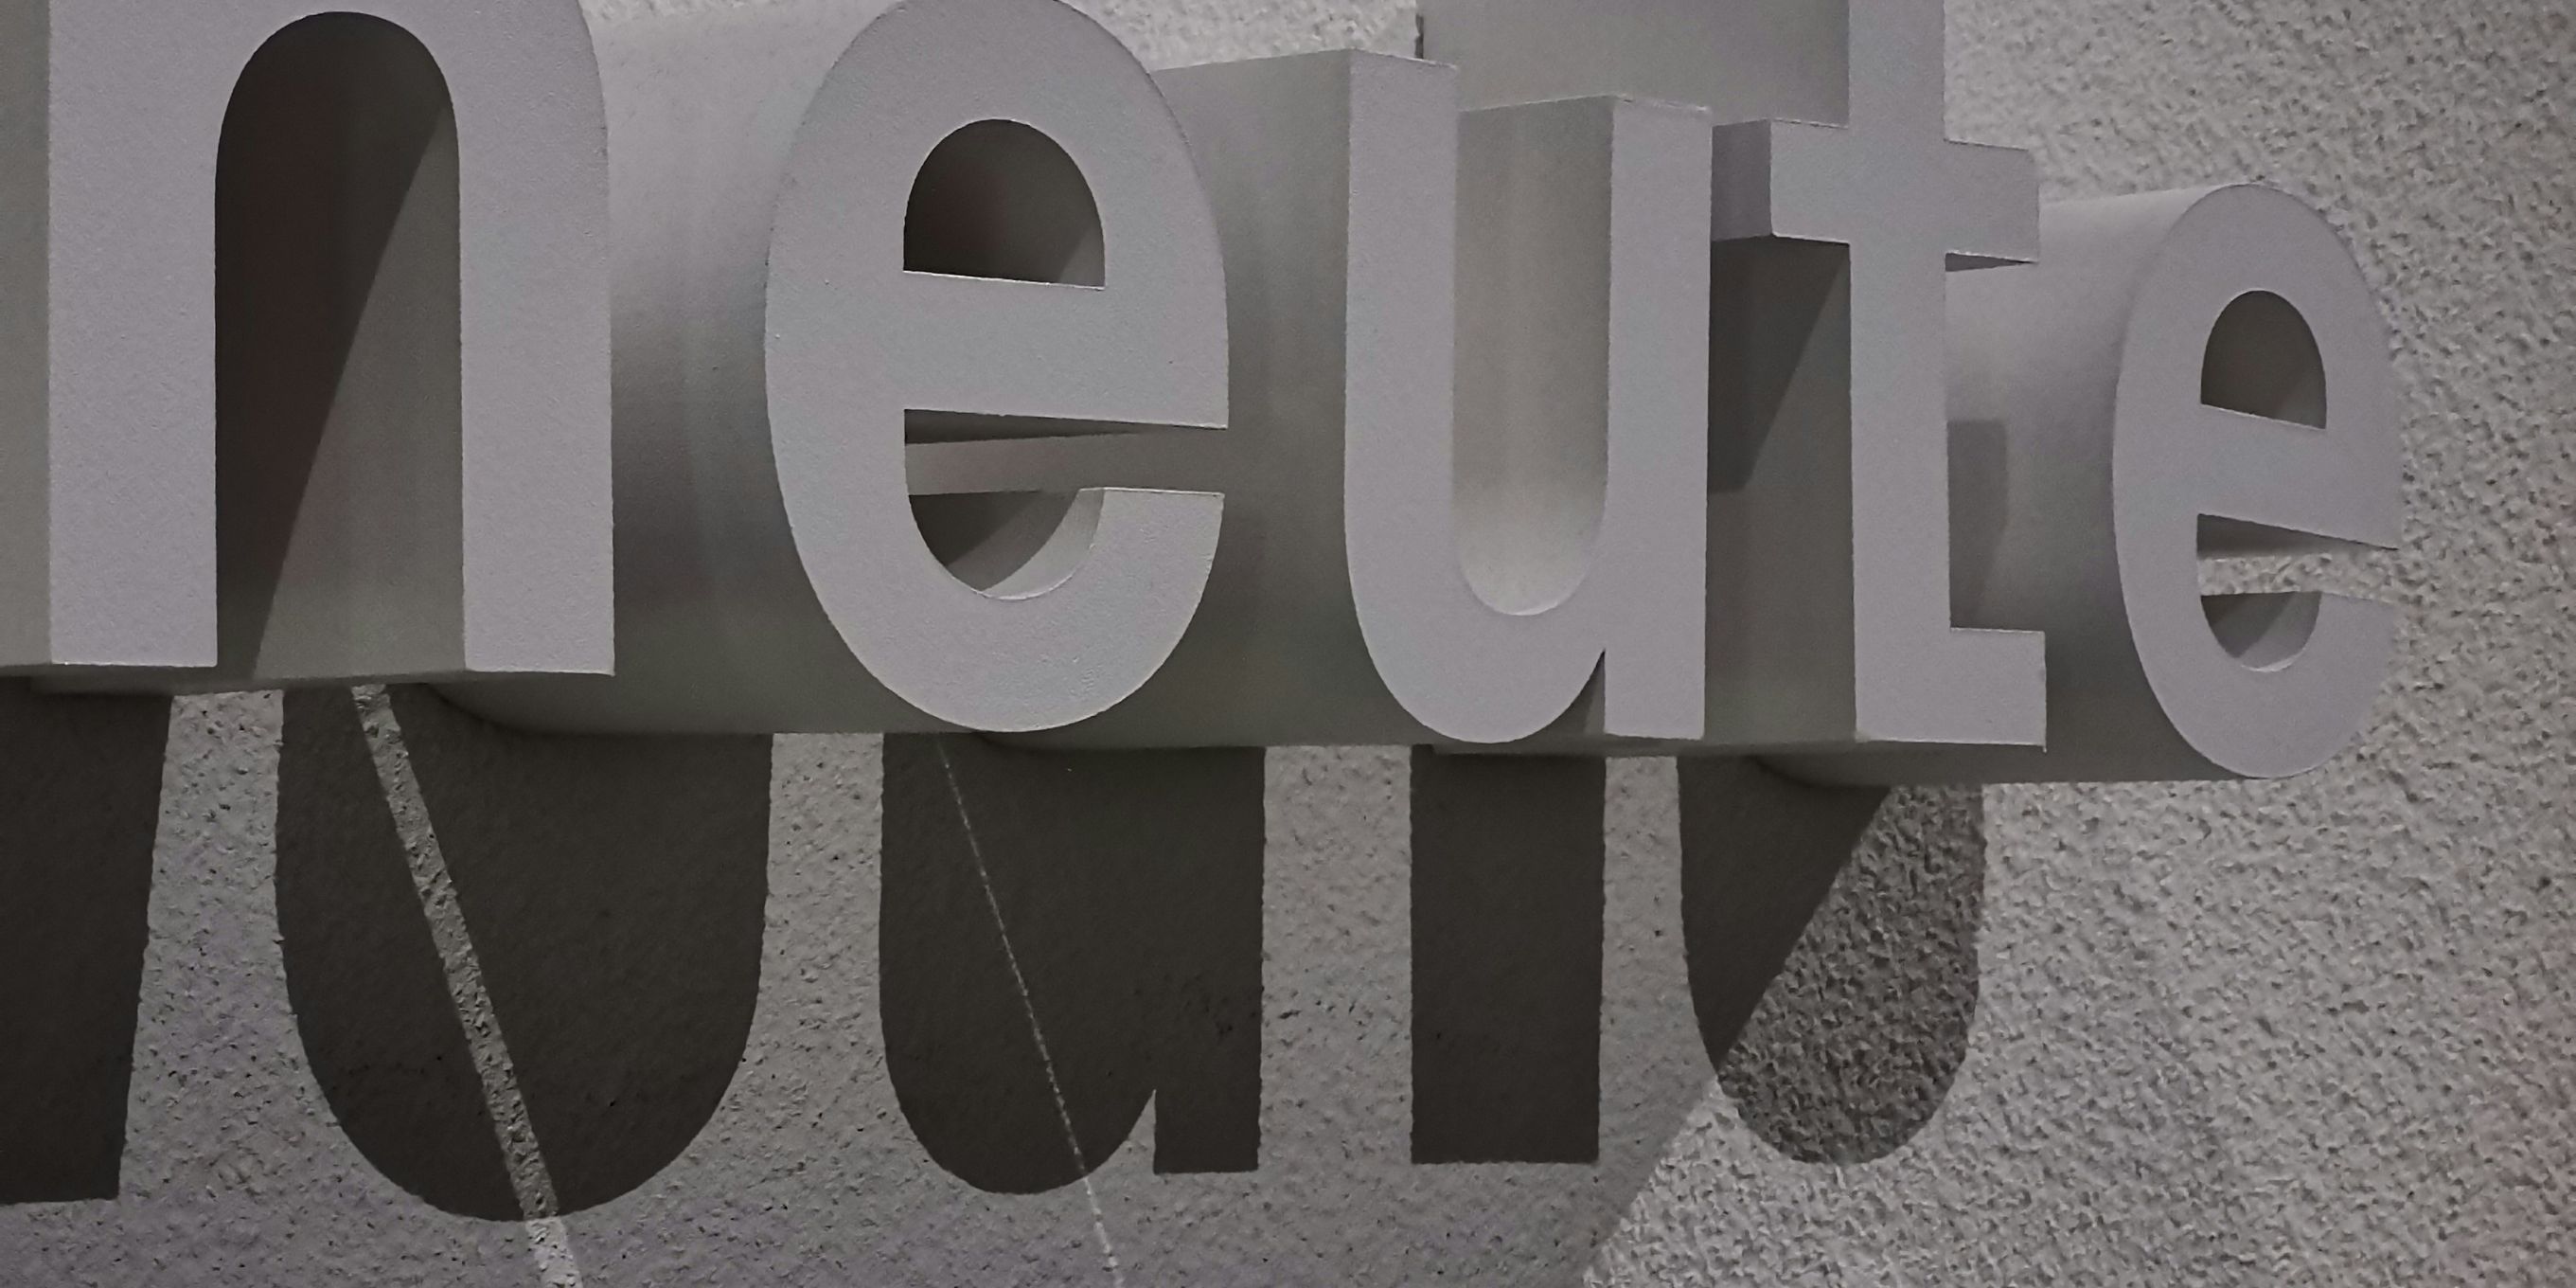
The gap between letter and wall does more work than people give it credit for. A flush-mounted letter looks flat. Even a 15mm standoff creates shadow depth that makes letterforms read more clearly and adds genuine dimensionality to a facade.
For halo-lit letters, standoff depth determines how the light bleeds across the wall behind – too shallow and you get a tight, uneven glow; too deep and the effect softens to the point of losing impact. Testing on a sample before committing to a full run is time well spent.
For non-illuminated letters, 15–25mm is usually the sweet spot. Beyond 25mm you start to create ledges that collect debris and water, which matters more on exterior installs.
Alignment & Spacing
Letter spacing (tracking) is a topic that generates strong opinions! The practical point for installation: optical spacing is not the same as mathematical spacing. Equal measured gaps between letters often look uneven because of the varying visual weight of different letterforms. Trust your eye as much as your tape measure, and if you're working from a designer's file, check whether the spacing specified is intended to be measured or optical.
For long runs of letters, use a laser level rather than a spirit level. It's faster and more accurate over distance. Set your horizontal baseline from a fixed datum point, not from the floor or ceiling, which are rarely as level as they look.
On Site Tips
A few things that separate clean installs from frustrating ones:
* Drill your substrate holes slightly oversize. It gives you a small amount of adjustment and makes it much easier to fix the letter over the stud or cup accurately.
* Use a pozidriv bit that actually fits your screw heads. A chewed screw head on a wall-face cup is a problem you can't easily fix without removing and redrilling.
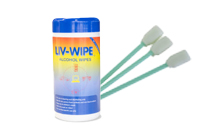
* Carry alcohol wipes. Surface prep for any adhesive fixing needs a clean surface, and a site might not be as clean as it looks.
* Don't rush the template stage. Five extra minutes with a template saves an hour of filling and redrilling.
* If you're installing in cold conditions, check adhesive and tape temperature ratings. Many products have minimum application temperatures that matter more than people realise in autumn and winter exterior installs.
The best installs are the ones that look like they required no effort at all: clean lines, consistent spacing, no visible fixings, no drama. That's rarely the result of luck. It comes from good preparation, the right products for the substrate and application, and the kind of attention to detail that experienced installers apply without even thinking about it.